DIY Ferret Cage
Having ferrets as pets means never getting bored as they are always doing something, going somewhere or being adorable sleeping little intagramables. While it is fun to watch as a pet owner, their mischievous nature is what makes it a little difficult to make sure their cages are just perfect.
But worry not, that is exactly what we will learn how to do in this article. By the time you are done reading, you will know everything from repurposing, to making cages from scratch, to what to put inside them.
Step 1: The main ferret cage frame
When making a cage by yourself, there are two routes you can go: making one from scratch OR repurposing something that you already have.
Making the best ferret cage from scratch:
This is the more difficult option and requires more time and effort. On the flip side, this is the best solution for when you need the cage to fit in a specific spot perfectly or if you just prefer to maintain full control over the design.
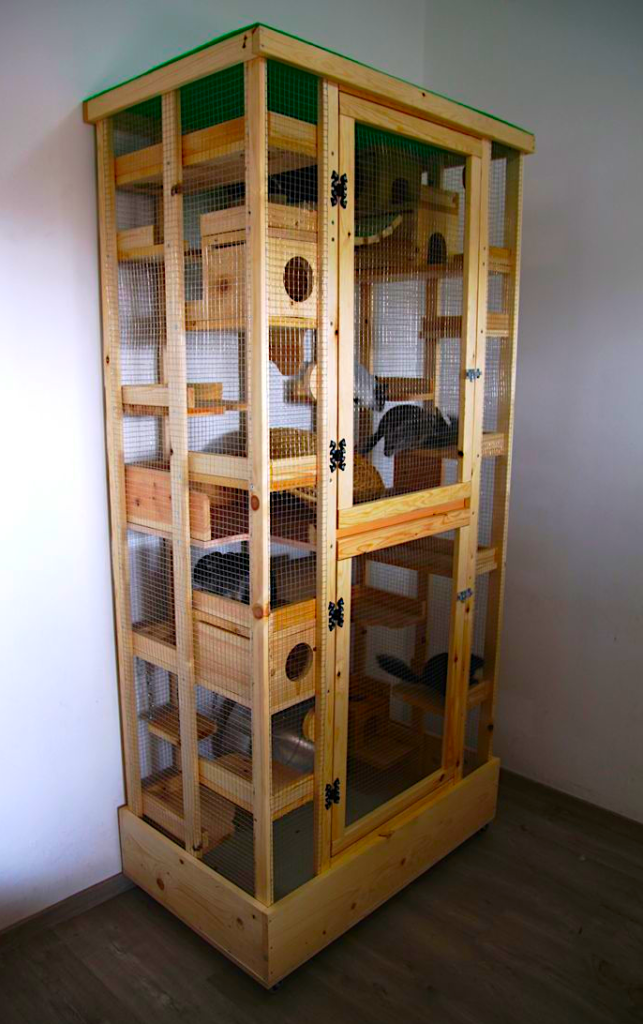
For this, start by making the frame with strong wooden pallets, plywood, or plastic piping. Cut the pieces into the desired sizes and nail or screw them together. Pallets are a good option because they are fairly easy to find for free and you would essentially be starting with pieces that are already partially built
Repurposing furniture:
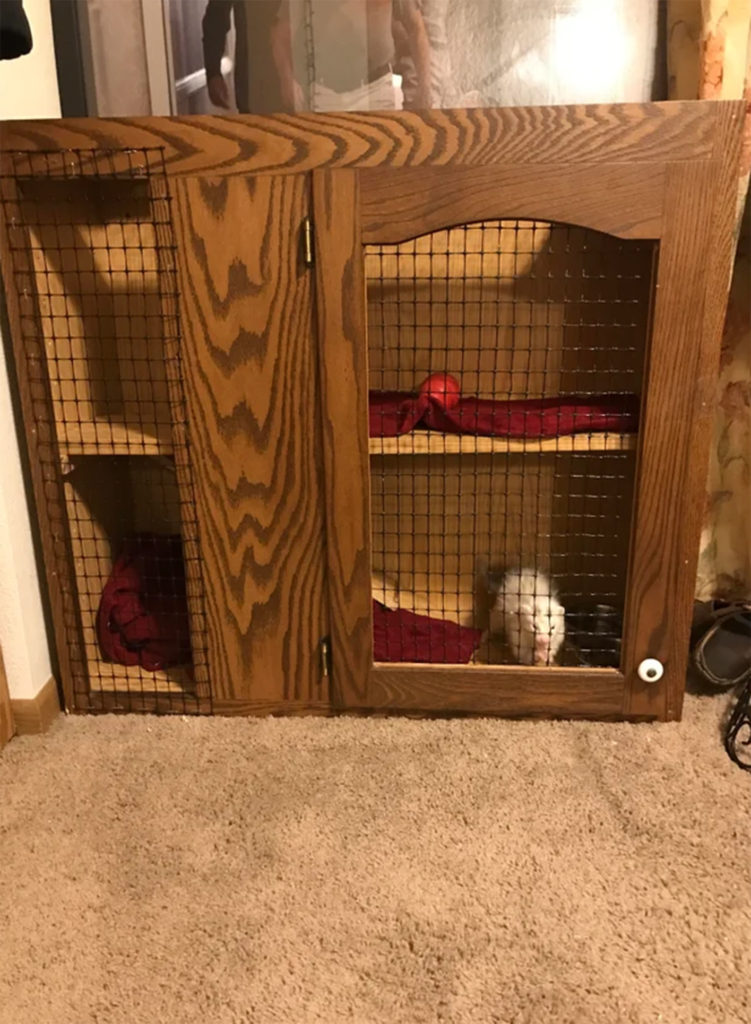
This is slightly easier, find a piece of furniture or any object that is sturdy and large enough to work as a cage. There are a plethora of things you can repurpose for this including large wooden shipping containers, a bookshelf, wardrobe, cabinets, etc. Once you have what you want to repurpose, remove or make window type holes in any of the parts you would like to make visible, like drawers or doors.
Step 2: Adding layers
Ferrets love to have places to explore and to move around from one space to another. You could use additional pieces of wood, plywood, or anything strong enough, and attach them to make different platforms at different heights of the cage. Additionally, building your new diy ferret cage to be very tall will give your ferrets more space to move about while still taking up the same amount of floor space.
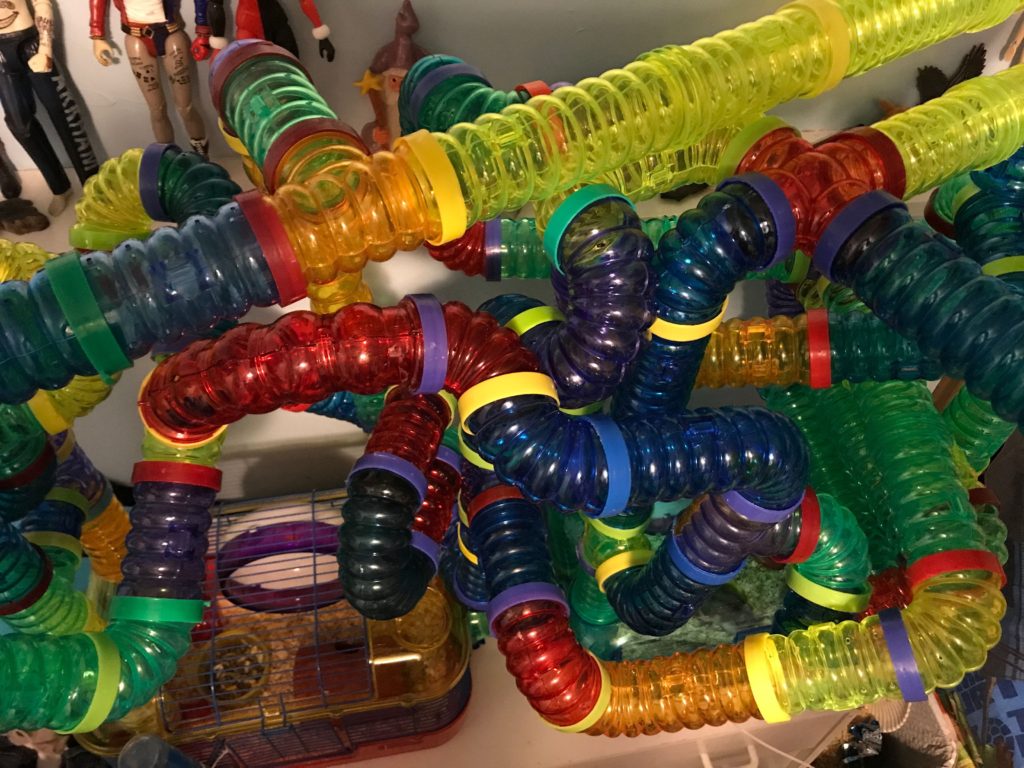
A clever way to add layers is by using items that will have multiple functions. This can be hammocks, tube systems etc. Adding tubes that go outside the cage and making a few loops to return to the cage once again, can also be a great way to allow them to go “outside” the cage without actually going outside.
If the layered platforms are too high for your ferrets to maneuver up and down, then you can connect the layers by cutting out holes and attaching rope ladders or just make little ramps connecting each one.
Step 3: Fencing your diy ferret cage
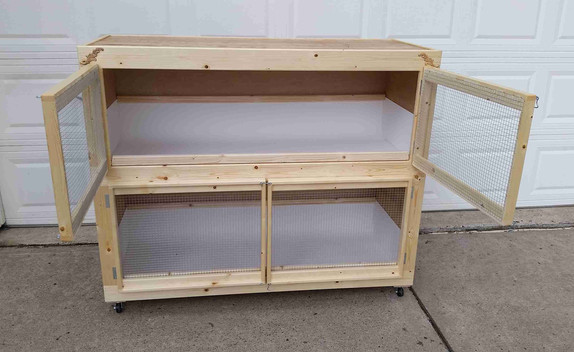
Cover the open parts of your diy ferret cage. To keep the open parts visible, use fences like rabbit wire. Feel free to use any kind of metal fences you can find just as long as you are sure that the ferrets won’t be able to break, bend or squeeze through them. Either cut pieces to fit each fenced section, or tightly wrap the fencing around the entire ferret cage and cut away sections for the door. You can connect the fencing using thin wire, twist ties or by screwing it to the frame.
Step 4: The essentials
Add food and bedding to your DIY ferret cage. Ideally, the food should be kept on the bottom layer to reduce messy spaces and cleaning time. Bedding should be above the grounds floor and anything soft will do for a sleepy ferret. But there are all kinds of cool and cozy ferret beds available online. Ferrets especially love sleeping in hanging things like hammocks and we’ve got steps to DIY a ferret hammock if you like!
Try not to have any bare wood on lower levels or wherever their litter box is as wood will absorb smells and lead to an increasingly smelly area. The bottom level should have a top layer of plastic. This way, litterbox misses and food and water spills won’t damage the floor. You can even add a layer of carboard or anything else absorbent that you don’t mind replacing every once in a while on top of the plastic ground floor.
Step 5: Ferret toys!
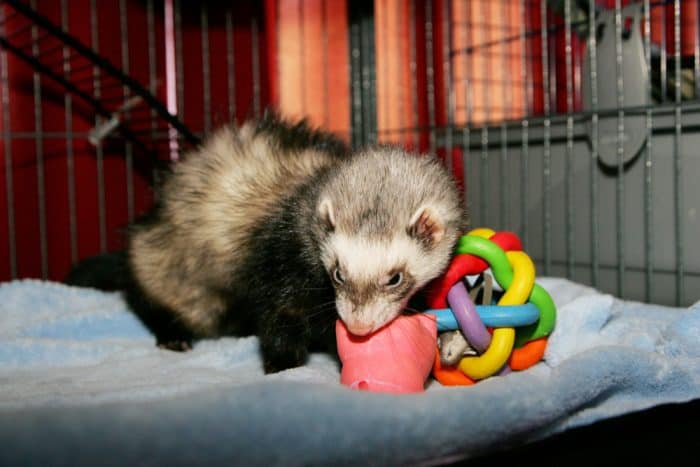
This is where you deck out your new beautiful diy ferret cage with everything you want your little buddies to have when they are confined to their ferret house.
If large enough, dedicate a whole compartment for ball pits, mazes, or dig boxes. For smaller diy ferret cages, you can attach plastic toys and cozy tunnel spots to the walls and hang a hammock or two from the top. Also, make sure you are adding smaller toys like tug toys and chew toys for them to hide around the cage. If you’re still feeling creative, you can make your own ferret toys too!
What to look out for:
As you’ve likely noticed already, ferrets are amazing at fitting through small spaces, so always make sure any gaps, holes, or fencing that they are not meant to pass through are smaller than one inch. Remember, if they can fit their head through the gap, they can escape from it.
Another thing ferrets love doing is chewing. They will chew on everything! So, before choosing materials for your diy ferret cage make sure that they are fully chew-proof. Some good options are rabbit wire, wood pallets, and plywood.
Ferrets need a lot of space so the cage should be 2 feet on all 3 dimensions at the bare minimum. Of course, the larger you can make it, the better. And remember, even with large a cage ferrets need to get out daily or close to it. They are not cage animals like hamsters or guinea pigs and if they are confined to a cage for extensive periods their quality of life will drop dramatically.
And there you go! An entire habitat for your ferret(s) that you made on your own. By building a DIY ferret cage not only can you save money from buying a premade, overpriced ferret cage, but you can also ensure that your ferrets have all they need to make it a home they love.

Check out our Amazon store for awesome deals on stylish gear for you and your ferrets 🙂



Pingback: Fun and Easy DIY Ferret Playground Ideas | DIY Ferret