If you have a ferret of your own, you definitely know how much they love to sleep and lounge around. Hammocks, since they are not only comfortable but are also away from the dirt that may gather at the bottom of the cage, make the perfect spot for them to nap in.
DIY ferret hammocks are actually much better than the store-bought alternatives since they can be customized according to your cage size and fabric preference and are more low-cost. It is important to know that ferret hammocks can be of different types. Some are just simple slings while others can also work as sleep pouches. Even the fabric can be made as warm or as soft as you want, to suit the needs of your little furry friend.
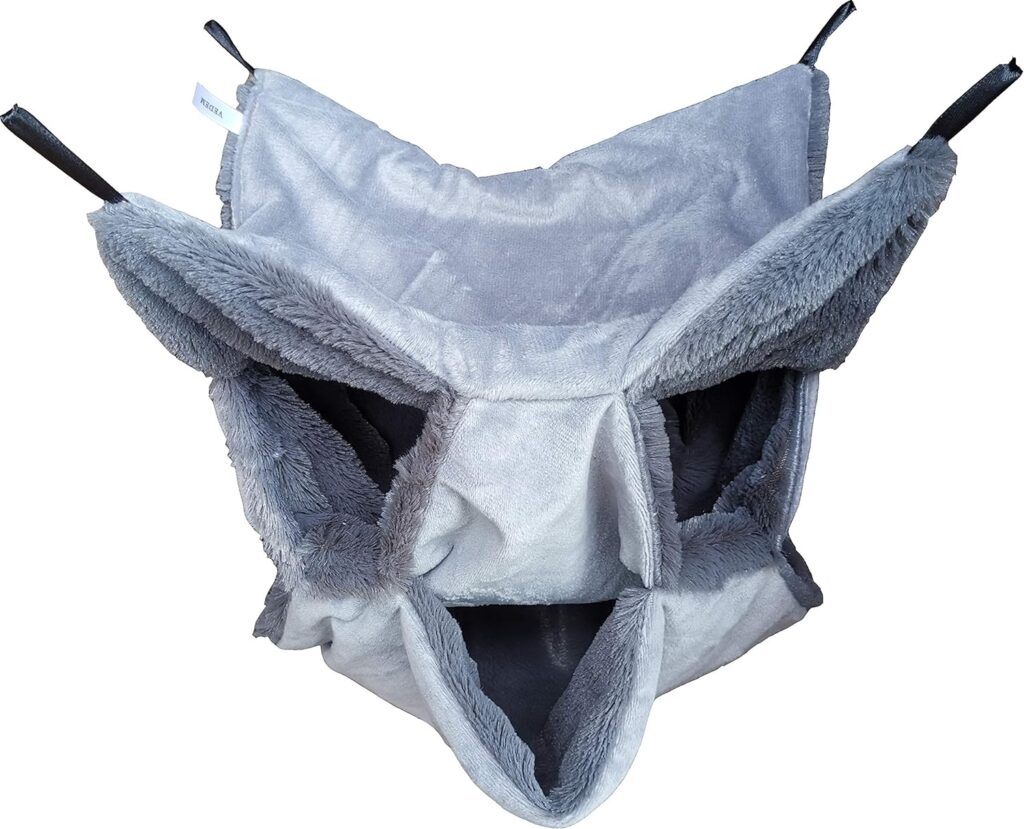
For this DIY we are making a type of ferret hammock that can be used as both a normal hammock and as a sleep pouch that your ferret can bury itself in. The flexibility of this hammock is sure to be a hit. So, without any more delay, let’s move on to how to make this DIY ferret hammock!
What you will need:
- Fabric of your choice (outside fabric)
- Fleece fabric
- Sewing machine (you could also use a needle and thread, but the finishing will be better with the machine)
- Ruler or measuring tape
- Ribbon or rope
DIY ferret hammock steps
Step 1:
Decide what size you want the hammock to be. To find the exact measurements, first fix the length of the shorter side of the hammock. Once you’ve got that, multiply this length by 2.5 to get the length of the longer side.
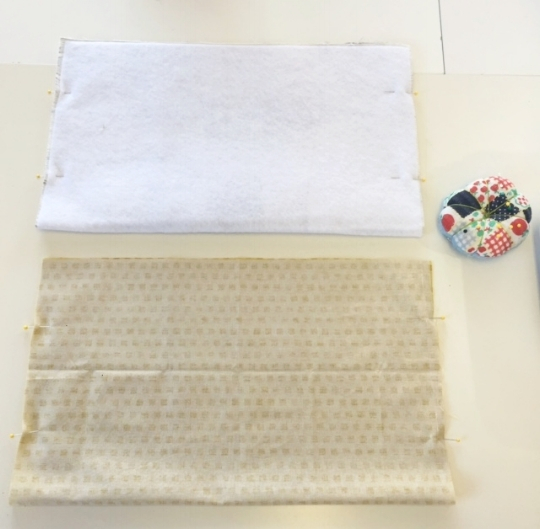
Cut out rectangles of this size from both the outside fabric and the fleece.

Step 2:
Once you have cut the pieces out, put one rectangle on top of the other, with the front sides facing each other. Pin these in place.
Step 3:
Sew along the edges of the two fabrics, leaving a small portion unstitched. Poke your fingers through the unstitched portion and turn the fabric inside out to make the right sides facing out.

Step 4:
Sew together the unstitched portion of this rectangular piece.
Step 5:
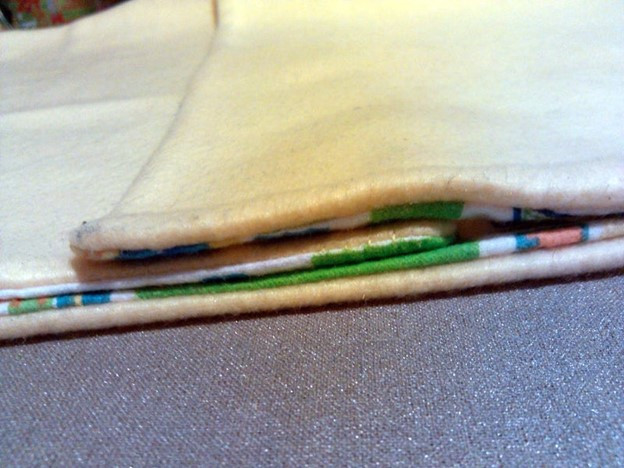
Lay the stitched fabric with the fleece side facing down. Now, bring each of the shorter sides towards the middle to create two folds so that one of the short sides lays on top of the other.

Step 6:
Take the ribbon or rope you have and cut out four strips that are about 10 inches in length. Once you have cut them out, fold each of the strips to form loops.
Tuck the open ends of each of the loops into the inside corners of the folded rectangle. It will be easier to work in the next steps if they are placed more towards the longer sides.
Step 7:
Sew along the long sides of the folded fabric. Make sure that the ribbon loops are securely sewed in place as well.
Step 8:
For the last step, turn the fabric inside out once again, and your hammock is ready!

If you want to hang your new diy ferret hammock, loop a strong thread or rope through the ribbons when tying it in place. You could also leave it on the floor so that the ferrets could crawl in when they want to take a quick nap or just lounge about.
If you have multiple ferrets, try playing around with the sizes and material of the hammock. For a little experiment, layer the hammocks under each other and see how the adorable little users turn it into a complete space of their own!
If you need more visual cues, check out the DIY ferret hammock video here.


Pingback: Can Ferrets Eat Cat Food? All You Need to Know | DIYFerret
Pingback: DIY Ferret Cage - Ideas to Get Started Today | DIY Ferret
Pingback: Fun and Easy DIY Ferret Playground Ideas | DIY Ferret
Pingback: Make your own cool DIY Harness for Ferrets - DIY Ferret